• Hello!

    Either you have not registered on this site yet, or you are registered but have not logged in. In either case, you will not be able to use the full functionality of this site until you have registered, and then logged in after your registration has been approved.

    Registration is FREE, so please register so you can participate instead of remaining a lurker....

    Please be certain that the location field is correctly filled out when you register. All registrations that appear to be bogus will be rejected. Which means that if your location field does NOT match the actual location of your registration IP address, then your registration will be rejected.

    Sorry about the strictness of this requirement, but it is necessary to block spammers and scammers at the door as much as possible.

Stack I plan on building

HazAnga

Corn's + Garters
I just did a quick SketchUp design of how I'm going to design the snake rack for the clear sweater boxes.
The dimensions are; 18" wide, 23-3/4" deep, and 26-1/2" tall. The box on the side is going to be where I'm going to install a rotary dimmer switch, and on the back of the box will be a outlet to plug the heat tape into. I plan on putting 11" heat tape in the center of the back panel of the rack for back heat, as apposed to bottom heat. (I'm planning on using aluminum tape to tape the heat tape on.)
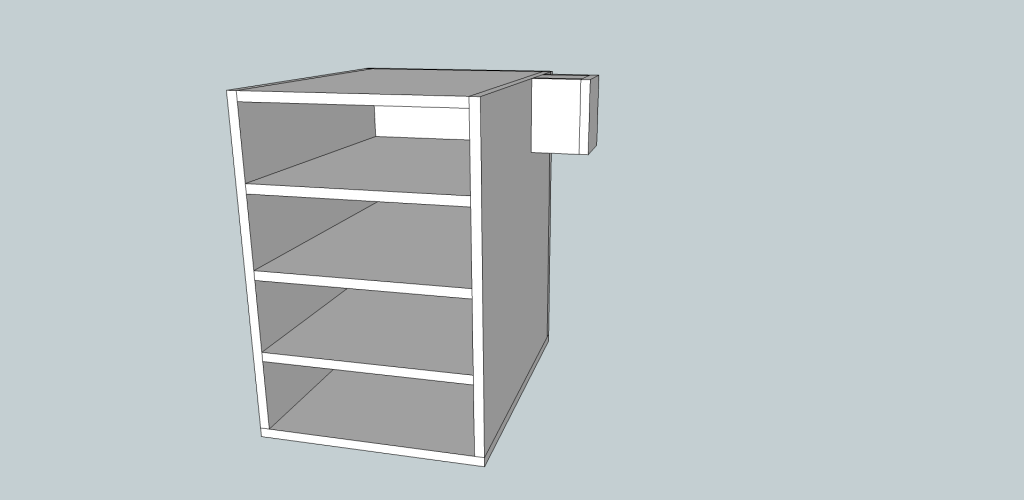
SnakeRack.png


If you have any concerns or think i should change something or anything let me know. It probably won't be built for a month (since the next expo around here isn't till the end of Feb. and the guy who I'm getting the heat tape from is all out of the 11".)
Unless you think i'd be ok using the 17" which i guess he has, or would that be too hot.?
 
I just did a quick SketchUp design of how I'm going to design the snake rack for the clear sweater boxes.
The dimensions are; 18" wide, 23-3/4" deep, and 26-1/2" tall. The box on the side is going to be where I'm going to install a rotary dimmer switch, and on the back of the box will be a outlet to plug the heat tape into. I plan on putting 11" heat tape in the center of the back panel of the rack for back heat, as apposed to bottom heat. (I'm planning on using aluminum tape to tape the heat tape on.)

SnakeRack.png


If you have any concerns or think i should change something or anything let me know. It probably won't be built for a month (since the next expo around here isn't till the end of Feb. and the guy who I'm getting the heat tape from is all out of the 11".)
Unless you think i'd be ok using the 17" which i guess he has, or would that be too hot.?

Well I wouldnt worry about the 17" being to hot since your going to be using a dimmer, but I would really consider getting a thermostat since you are going to already be spending a decent amount of money. The dimmer/thermostat will control the temps BUT they do need a decent amount of space to get away from the heat sourse so they can thermoregulate so keep that in mind. Also, how com you dont want to use bottem heat? Dont snakes need bottem heat for digestion?
 
Dont snakes need bottom heat for digestion?

No, most of may racks use back mounted flexwatt for heat and my snakes do fine but all of my hatching racks have belly heat because I feel they benefit more from it than my older snakes.
 
oo ok, :D I didnt know for sure thats why I posted it as a question haha. I have read so much about "belly heat" so I wasnt sure.
 
thank you for sorta clearing that up for me as well. I've known always to have belly heat, i have seen back mounted heat as well but that clears that up for me. Maybe I'll make a rack for younger corns later on, but right now I'm more so concentrated on what i have and what I'm getting... I won't have babies until next year.
I'm not spending a whole lot, I'm only spending money on the heating. I'm able to git the material from work (I'm a cabinetmaker) I'll use cut offs that aren't needed, the only problem would be trying to mix and match laminate colours so it looks nice and not thrown together.
 
So I've picked up two Hydrofarm Digital Thermostats for this stack and maybe a future one. and I've also put an order in for some length of 4" heat tape. I've changed my mind on the back heat and I'm going to put a strip of 4" heat tape down on every shelf. That way I can put younger one's in it as well and not worry about them not digesting food properly.
Hopefully tomorrow I'll be able to cut some of the wood for the stack at work, then next week I can finish either cutting or assembling, depending on how far i git tomorrow.
 
well, today at work i got the pieces cut (did that myself) and then got our edge bander lady to run my pieces through the edgebander to git edged, very simple and quick process, instead of using that iron on crap. :)
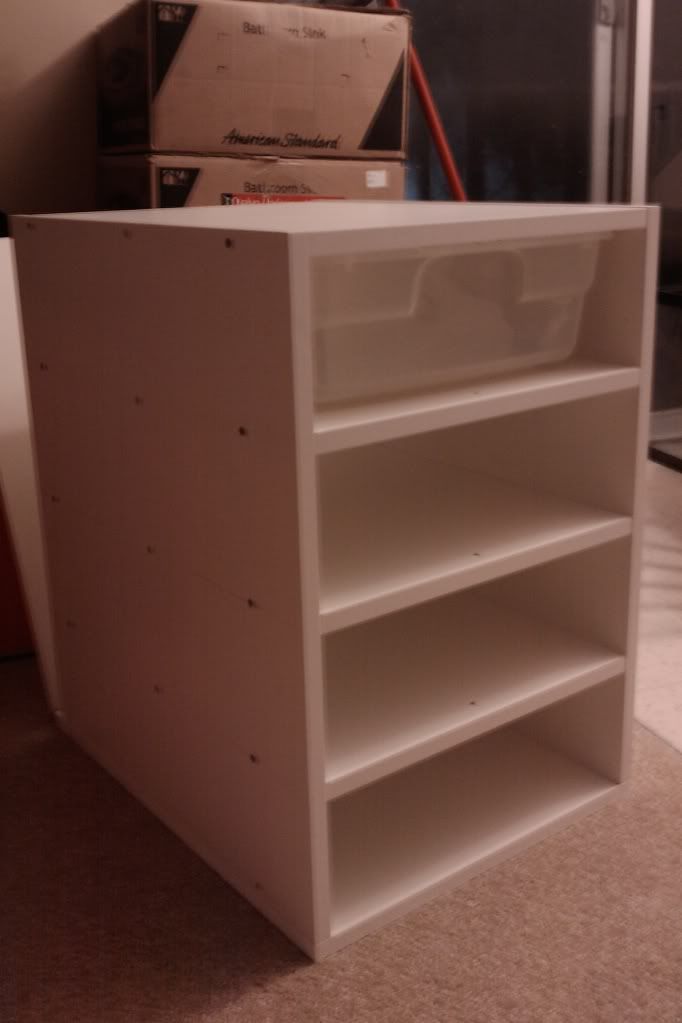
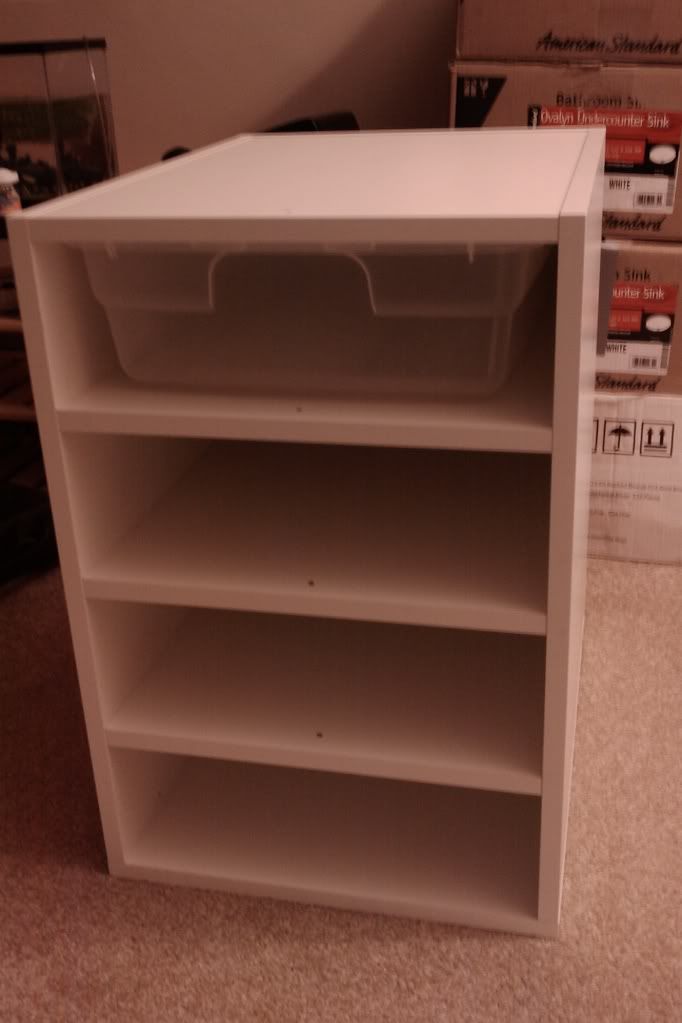
here's a couple pix of it nearly completed. I need more screwed and then i'll be just peachy, other then waiting on my thermostats and heat tape.

IMAG0140.jpg

IMAG0141.jpg


My only problem is that 2 shelves are a little tighter then the other two ;)
There's always something that has to go wrong when i build things lol
Don't sweat that, just sand down the tub til it slides in nice an easy! :)
 
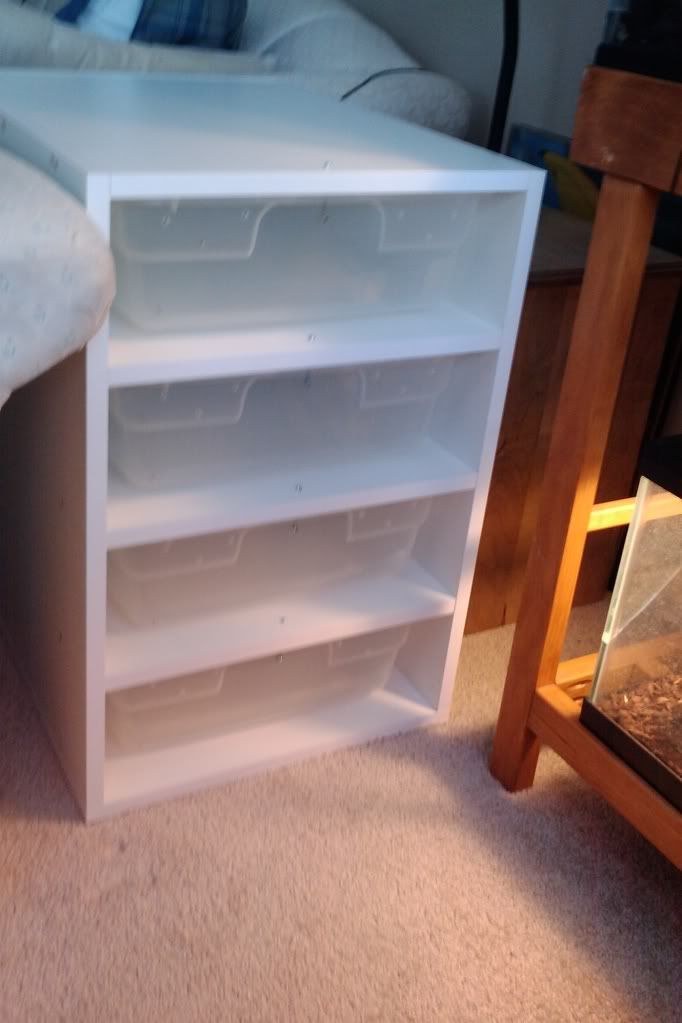
Here's it complete, still no heat tape or thermostat, but they'll be coming soon enough.
IMAG0142.jpg


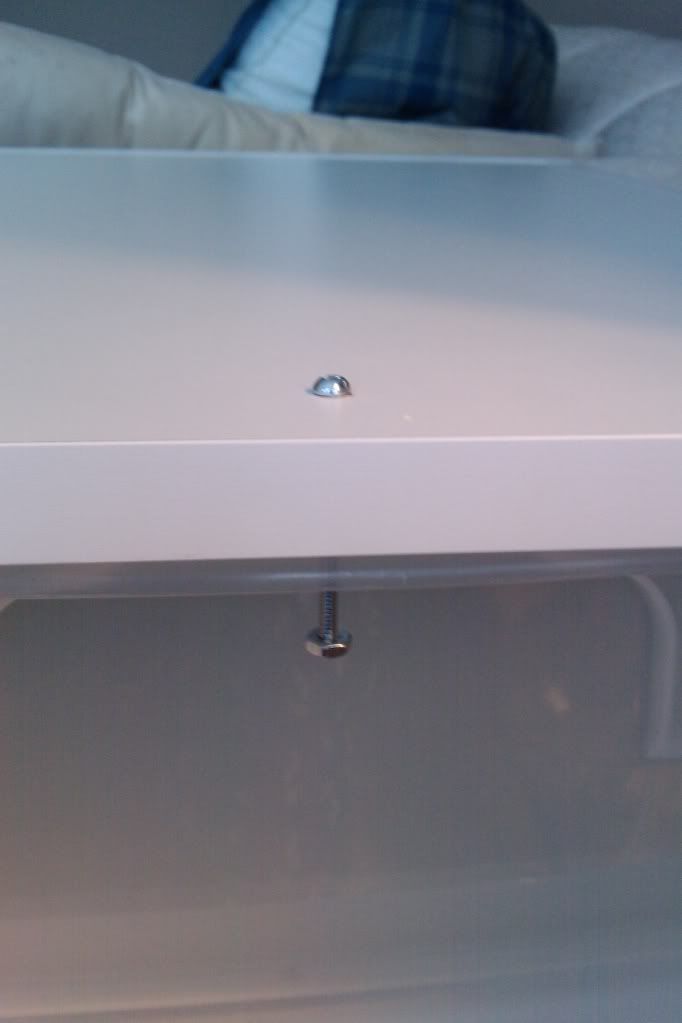
I also needed to do something so that I can have it locked, so i drilled a small hole in the shelves and melted a hole in the tubs so i could slide a pin (or in this case a skinny bolt) into the hole and through the lip in the container.
IMAG0143.jpg

all 4 bins have holes melted into the sides that i did with my BernzOmatic butane sauder gun.
 
Well heat tape and thermostats are ordered and in transaction now, so I should git both by Friday hopefully, because this weekend sometime I'm picking up a pair of miami phase :)
 
Here's some more pix of my close to finished product.
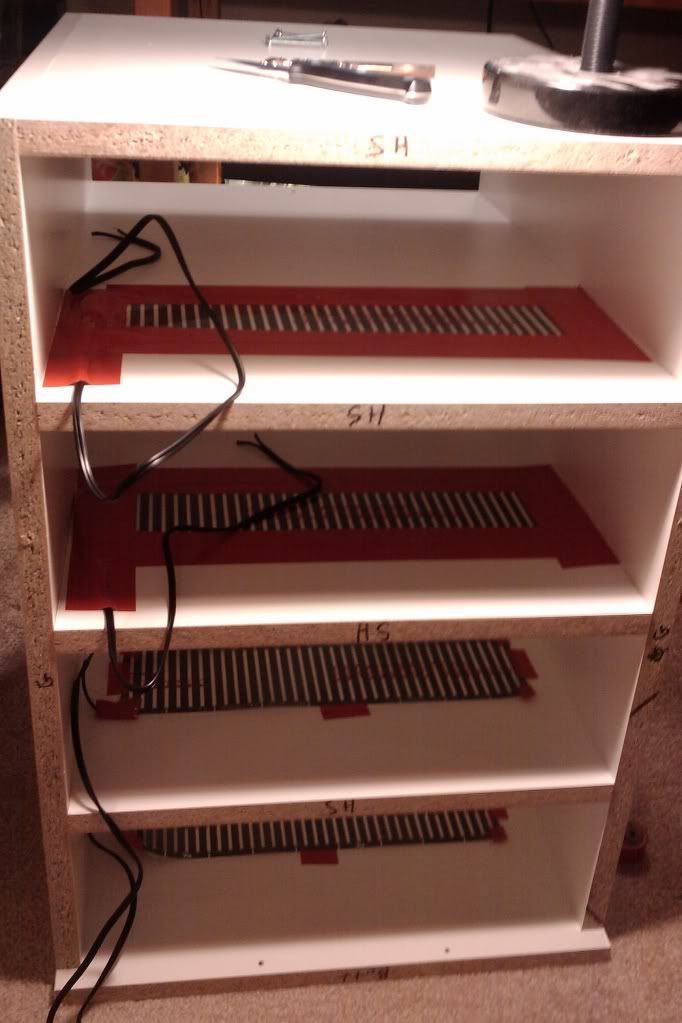
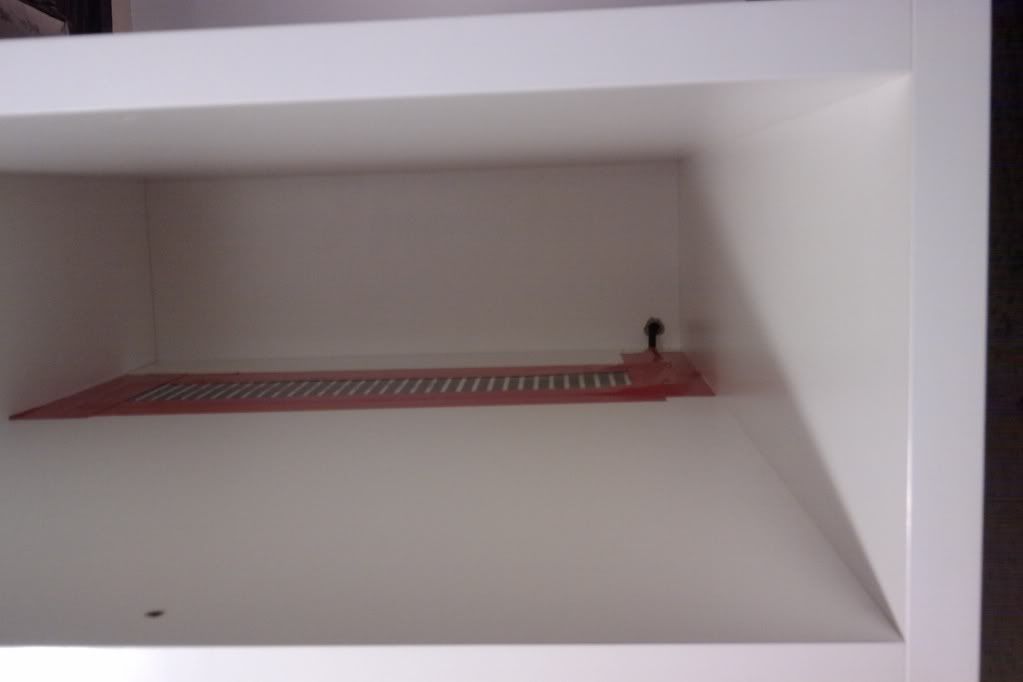
Here I'm taping the heat tape down to the shelves with red duct tape (because my regular duct tape was out in the car) I've also taped down the cord to make things neater because I'm not the type of person to leave cords just out dangling and what not. I like to have things look almost professional.
IMAG0149.jpg

this pic shows the inside where the tape is and i drilled a hole in the back for each shelf for the cord to go through.
IMAG0150.jpg

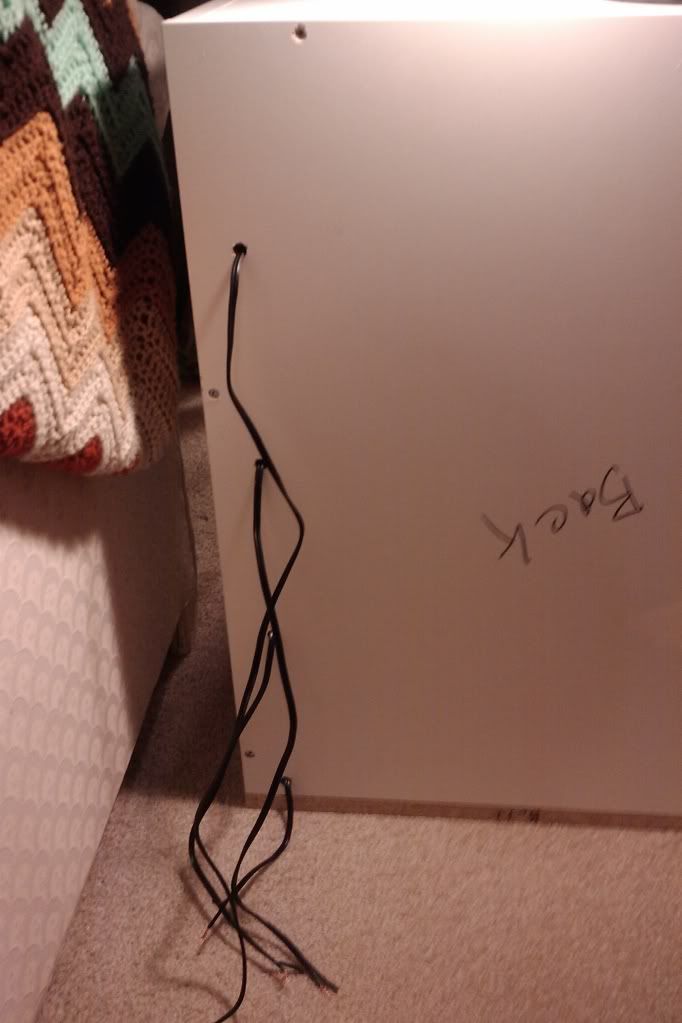
Here's a picture from the back showing the wires coming out of the holes i drilled
IMAG0151.jpg

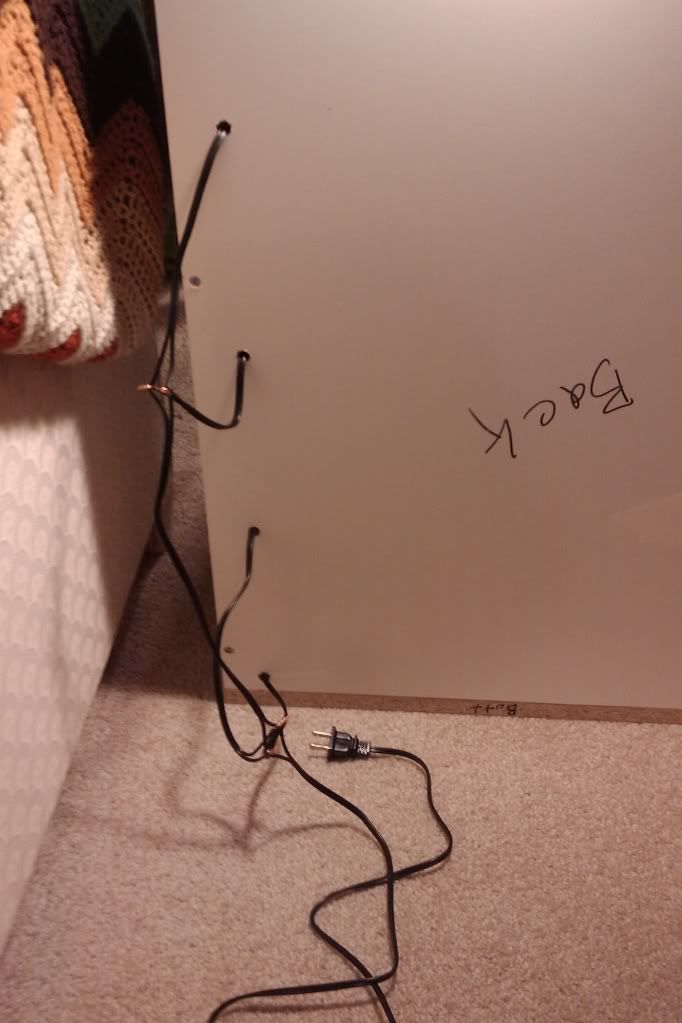
I've twisted all the wires together so that everything is connected properly, I will clean it up tomorrow or later after I get wire nuts and my thermostats. So it's just a little more time and then it'll be 100% completed yayy :)
IMAG0151.jpg
 
I don't intend on being the fly in the ointment, but I thought heat tape needed to be secured with aluminum foil tape.
 
Looks nice. Makes me want to make some more. I like that you didn't make it too big. These racks can get heavy fast. I've never used aluminum tape (or duct tape). I've got thick masking tape right now. It works OK. Electrical tape doesn't work at all.
 
I've heard of people using duct tape and the aluminum tape. I think the supplier said both, otherwise I wouldn't of even had duct tape in mind.
And ot is flipping heavy already... its 3/4" particle board! Shoulda used 5/8" woulda made it a bit lighter.
 
I've heard of people using duct tape and the aluminum tape. I think the supplier said both, otherwise I wouldn't of even had duct tape in mind.
And ot is flipping heavy already... its 3/4" particle board! Shoulda used 5/8" woulda made it a bit lighter.
 
It does look incredibly heavy. When My husband and I make ours it'll be in sections so we can transport it easily.
 
well it probably weighs just as much as average section of upper kitchen cabinets. it's heavy enough. easily 60Lbs maybe closer to 70. And everything is done, wiring, I picked up the marrettes up from Canadian Tire and then taped them up for that extra protection. I'm just in the testing stage to make sure everything works without any shocking or burning/smelling going on. Yes I am doing it without a thermostat but it's only a short test then off it goes until I git the thermostat, hopefully next week, and then another test before I get the new residence for this stack next weekend.
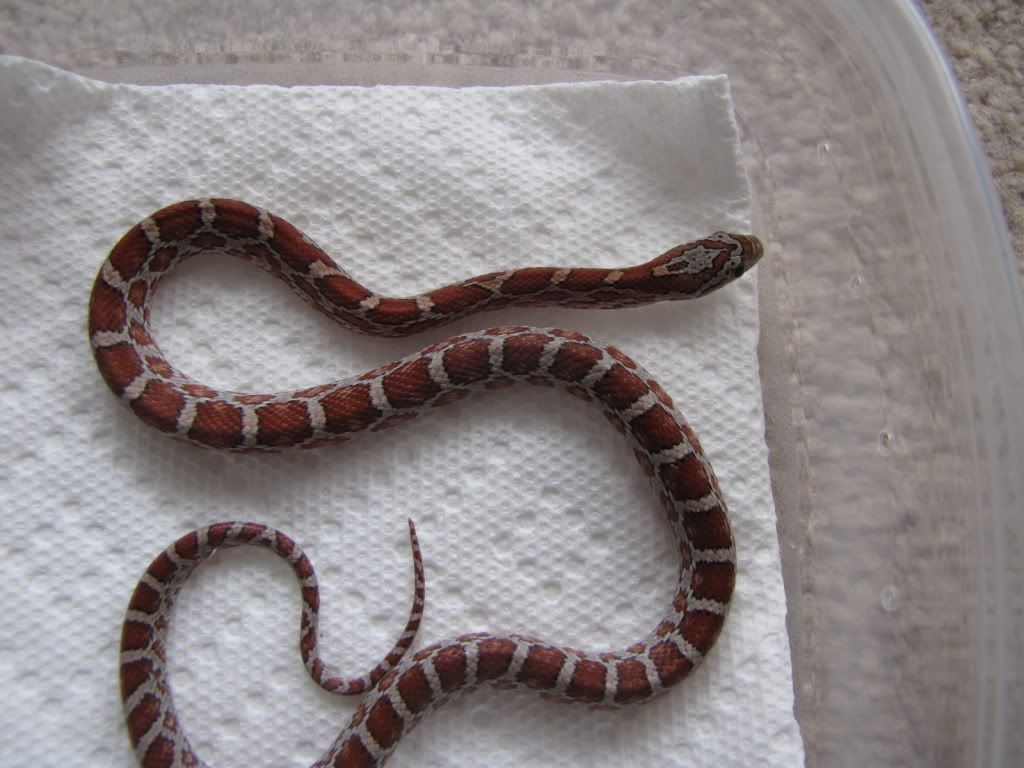
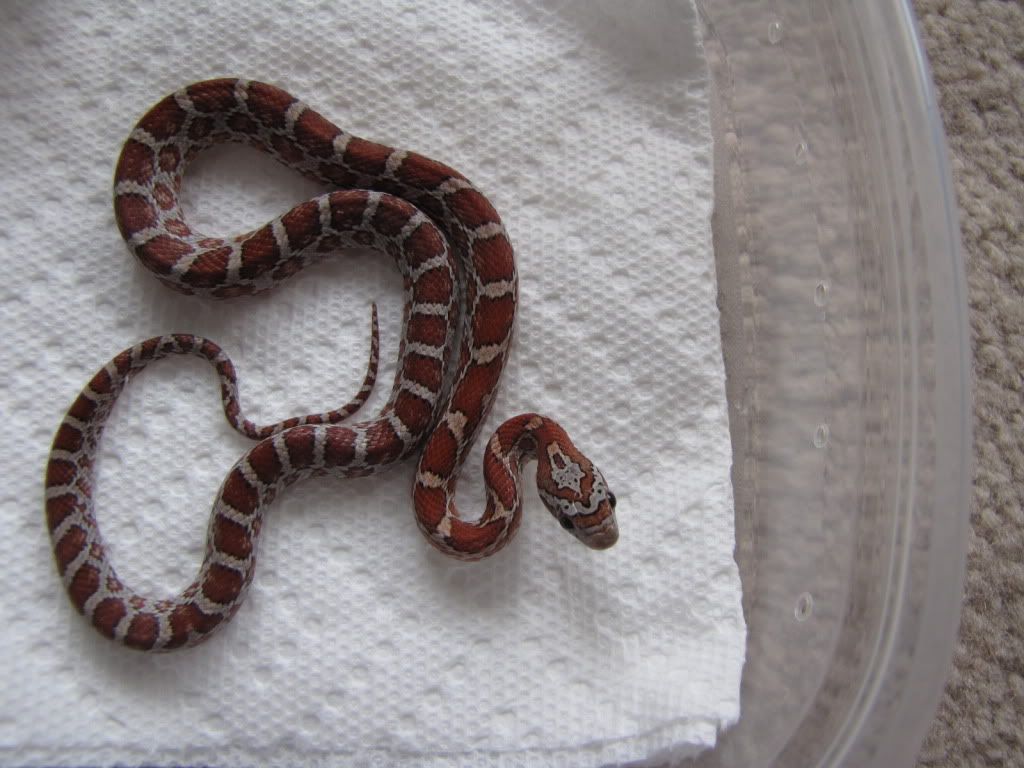
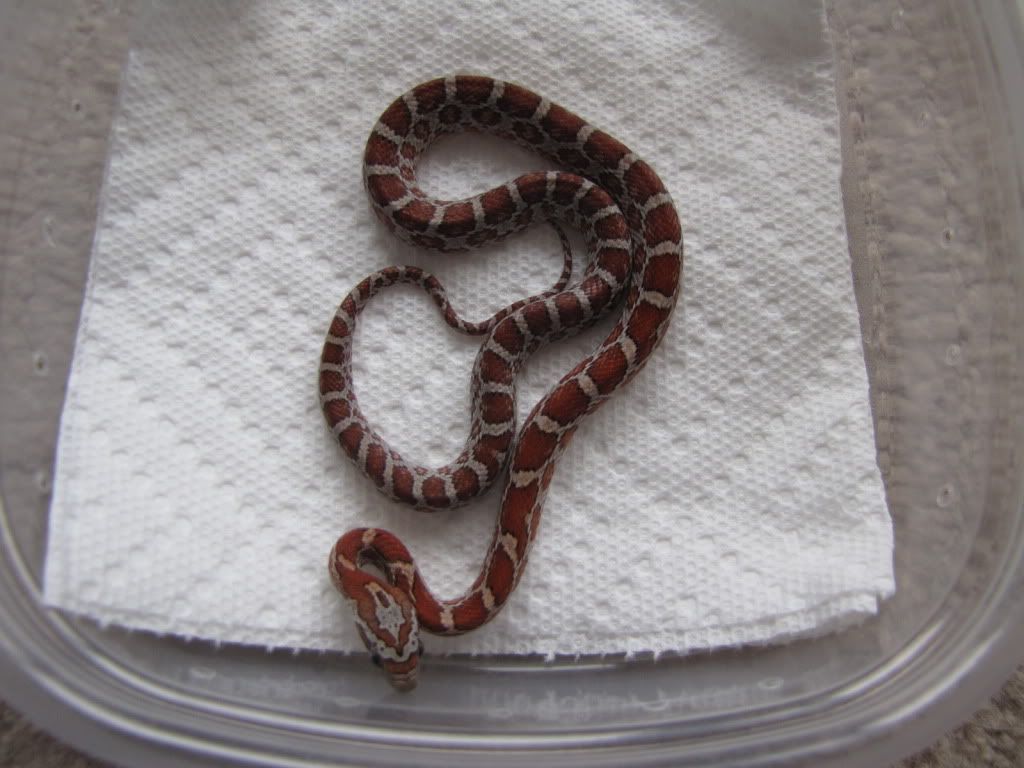
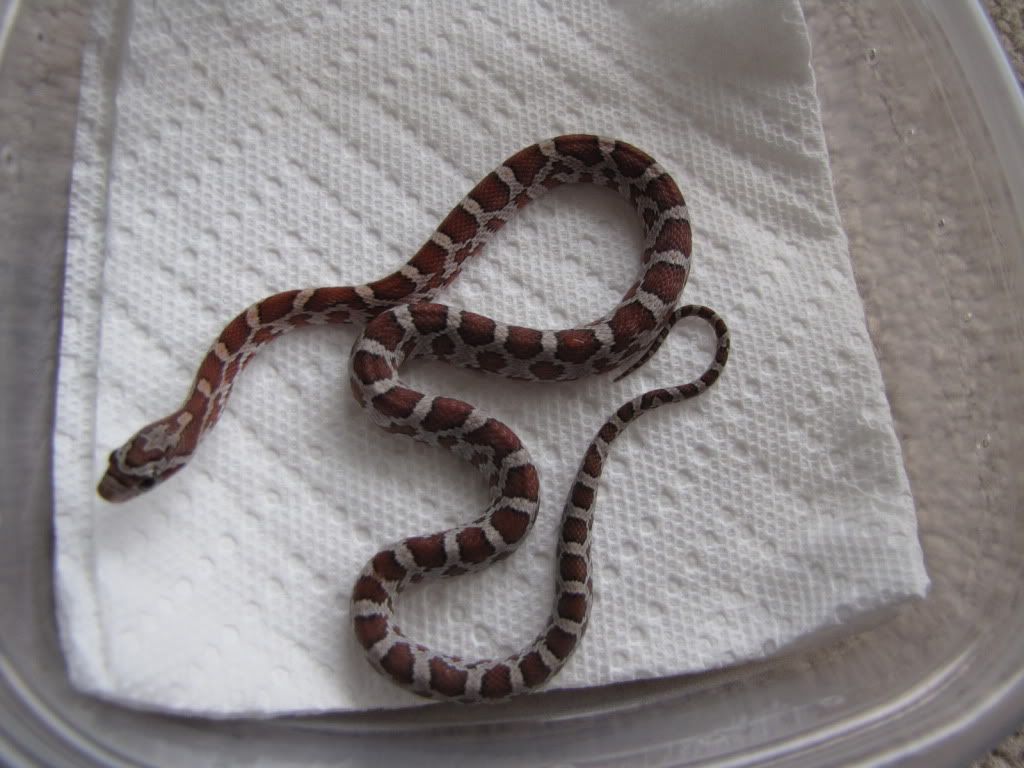
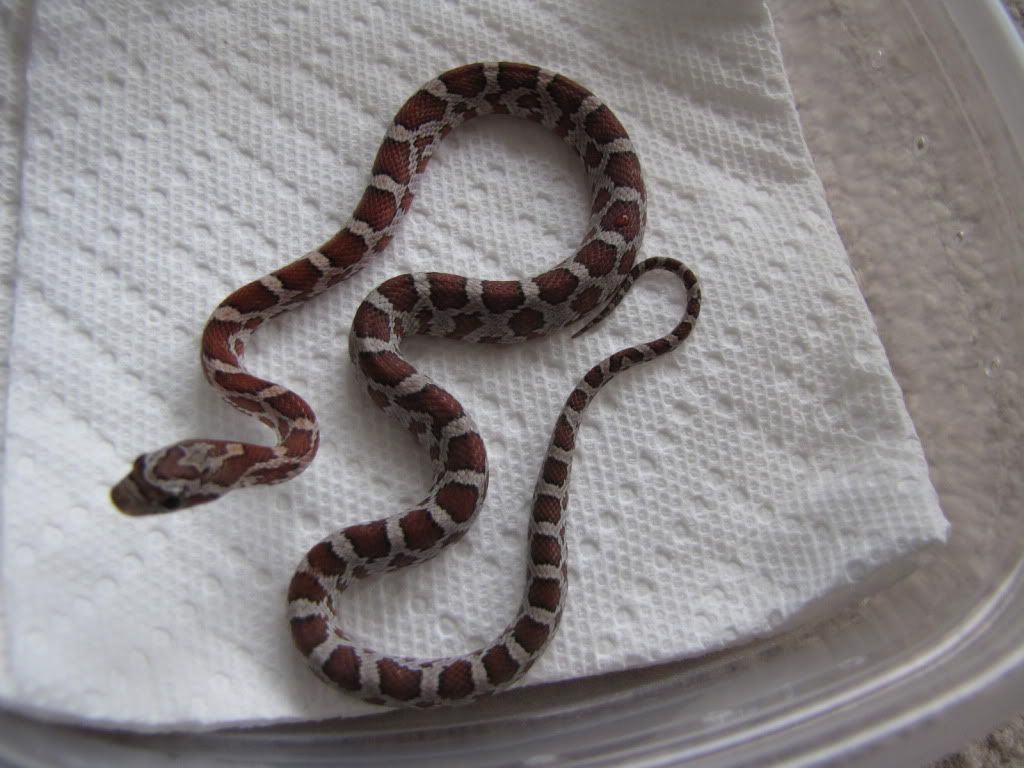
I'm excited, they're very beautiful. They are Miami Phase corns with "keys influence" as the breeder says. I guess which means the saddles are closer together and extend down the sides further.
Here's some pix of them;
The Female
Female001.jpg

Female002.jpg

Female003.jpg

The Male
Male004.jpg

Male005.jpg

Tell me what you think.
 
Back
Top