Retarted Geese
New member
Here I will post the FIRST part of the DIY, then once I get the extra pieces I will post the SECOND mart of the DIY.
=========================
Part Uno!
=========================
This is a tutorial made by Geese.
Thing you will need.
- Book shelf (2-4 spots, 2 spots is 1 shelf, 3 is 2 shelves, and 4 is 3 shelves...
- Extra wood, Depending if there is a space in diffrence of wood.
- Plexiglass
- Tape Measure
- Hammer
- Nails
- Screws
- Glueable Magnets
- Metal Knobs
- 2-4 Hindges
- Wood Finish
- Sealant (Clear)
- Paper and Pencil (For measurements, unless you can do these mentally) : )
- Your regular reptile goods, Light, heat, aspen, ect.
If you need cheap shelves, check a Habitat For Humanity location, sometimes they sell iteam they get out of closed down homes and older homes that they decide to demolish for other places to be built.
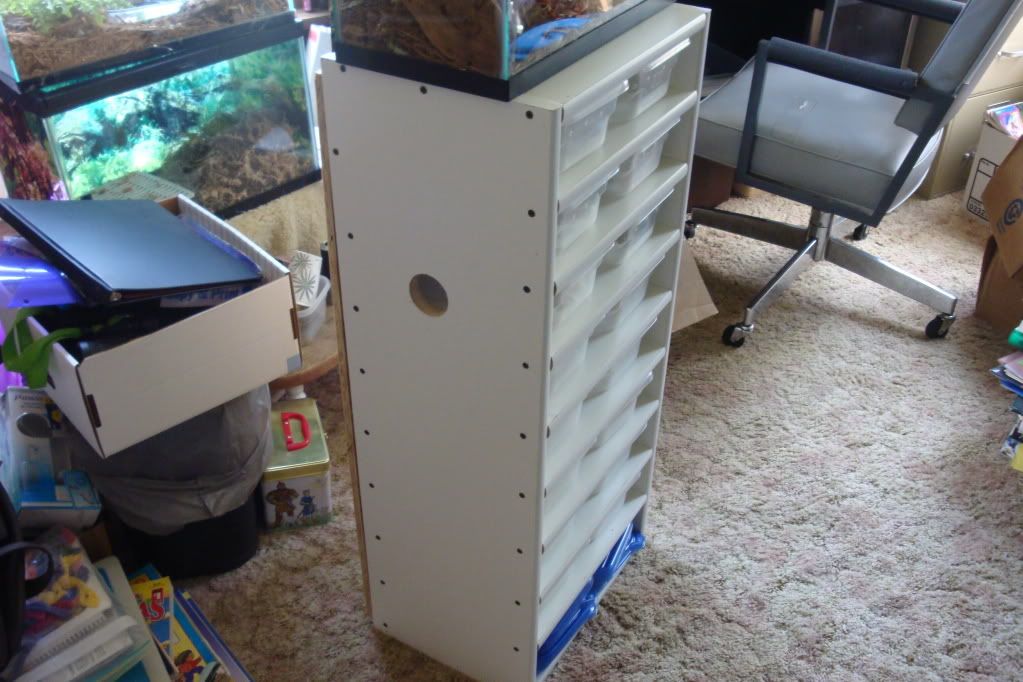
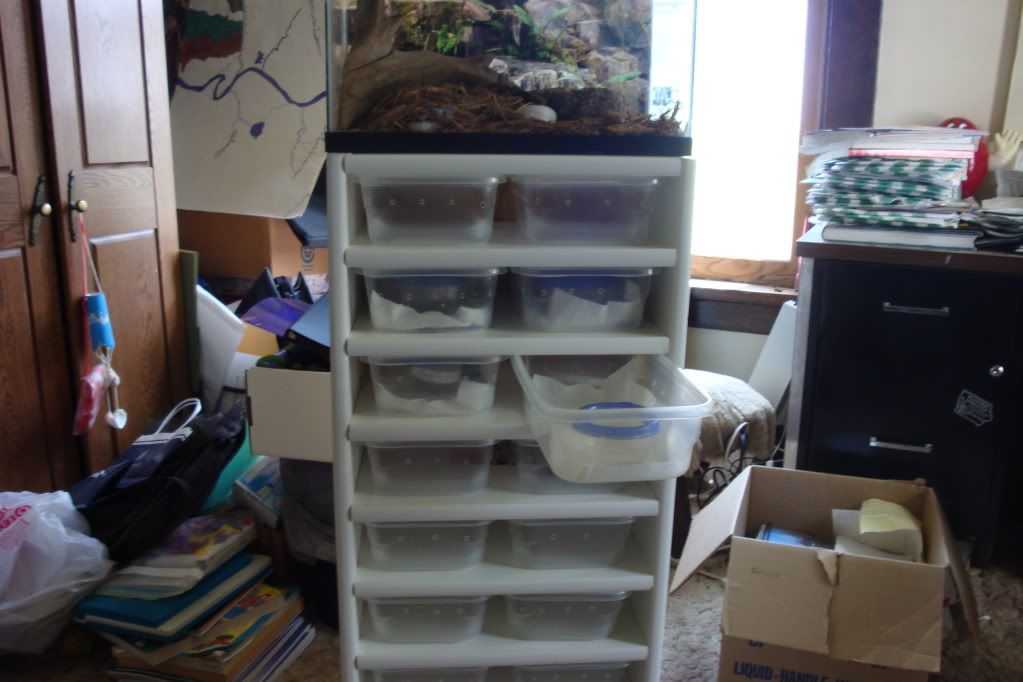
The shelve I have below, it was left from the people who bought had this house before us, otherwise get a small book shelf at Walmart for about 17+ dollars. Here is the one we had in the basement...
http://i657.photobucket.com/albums/uu298/Retarted_Geese/CIMG6551.jpg
Now take your extra wood pieces and see if you can size to fit and fill any gaps that you might have, so the snakes/lizards don't fall or get out... If you do need to size it, do the measurements and then cut the wood and screw it in... Saw off the edges you don't need so the board can fit securely into the slot. (Remember, 2 Measure It twice before you make rice, All im saying is measure twice before you decide to cut it.) As we did here:
http://i657.photobucket.com/albums/uu298/Retarted_Geese/CIMG6558.jpg
Now once you sawn off the edges to fit the slot, check if it's sticking out too much... If it is you will probably need a table saw, saftely cut the piece so no more pieces are sticking out so the plexigalss will fit.
http://i657.photobucket.com/albums/uu298/Retarted_Geese/CIMG6566.jpg
If there is a edge sticking out that will be in the way of the plexiglass, get a table saw, or a type of saw you know you can use to make a straight cut so it's level so the plexiglass doesn't bump out and have gaps for the snakes/lizards to fall or get out.
http://i657.photobucket.com/albums/uu298/Retarted_Geese/CIMG6562.jpg
**Optional** (Good idea)
Make a edge so none of the bedding will fall out of the cage, when opening the plexiglass door.
Get a piece of wood from Lowes or Home Depot like this one :
Then Measure twice, before you make rice.
Don't use your first cut as a doll because it won't be exact.
So measure the wood and cut it to fit the shelving snugly.
Make two cuts for top and bottom caging.
http://i657.photobucket.com/albums/uu298/Retarted_Geese/CIMG6568.jpg
Before drilling to put the screw in, make sure you have two drills...
A counter sink and a regular drill.
http://i657.photobucket.com/albums/uu298/Retarted_Geese/CIMG6573.jpg
Start drilling in the positions you choose along the board.
Now with the counter sink do this so the screw can fit well without the head sticking out.
http://i657.photobucket.com/albums/uu298/Retarted_Geese/CIMG6574.jpg (Drill)
http://i657.photobucket.com/albums/uu298/Retarted_Geese/CIMG6575.jpg (Counter Sink)
Next after the edging, but before doing that make sure you secure the piece of wood so you don't mess up the drill holes. Then screw everything into place as seen here, and the screw from the counter sink should fit like this :
http://i657.photobucket.com/albums/uu298/Retarted_Geese/CIMG6577.jpg
Thank you for reading. This is part 1 of 2.


