• Hello!

    Either you have not registered on this site yet, or you are registered but have not logged in. In either case, you will not be able to use the full functionality of this site until you have registered, and then logged in after your registration has been approved.

    Registration is FREE, so please register so you can participate instead of remaining a lurker....

    Please be certain that the location field is correctly filled out when you register. All registrations that appear to be bogus will be rejected. Which means that if your location field does NOT match the actual location of your registration IP address, then your registration will be rejected.

    Sorry about the strictness of this requirement, but it is necessary to block spammers and scammers at the door as much as possible.

My first DIY vivarium(first anything actually)

quixoft

New member
Here are a few pictures of my new vivarium. I'm not quite complete as I still need the latches and heating install but I'm 90% done. Let me know what you think and be easy as it's my first attempt at any sort of carpentry work!

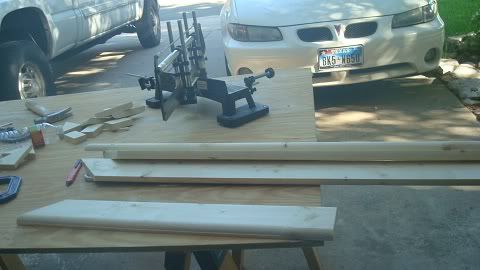
It's 3/4" birch plywood. I had them pre cut it for me at Home Depot.

DSC01435.jpg


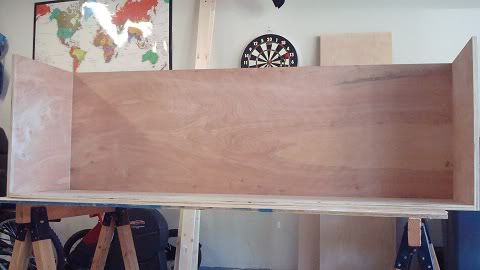
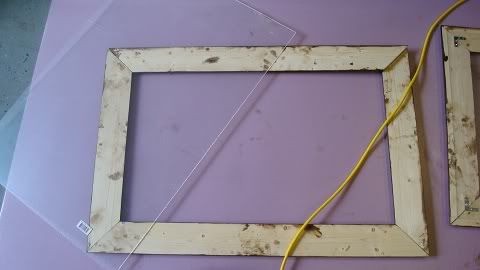
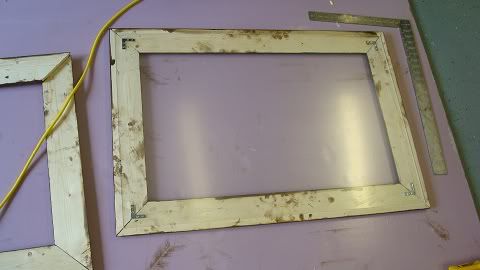
Centerpiece was glued together with elmers wood glue. Attached to rest via wood screws like everything else.

DSC01438.jpg


Added the roof and drilled 4 1/4" holes for vents.

DSC01444.jpg


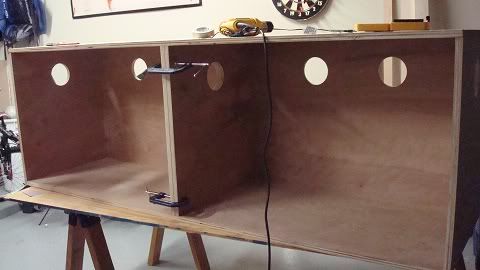
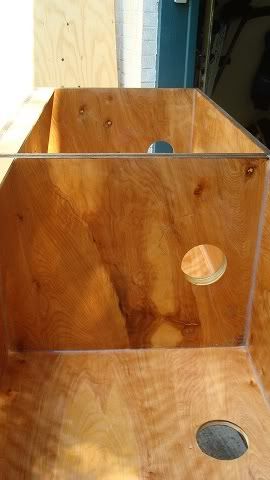
More pics of holes. Two each in the back for each cubicle, one each on the ends and one in the center piece that goes all the way through.

DSC01446.jpg


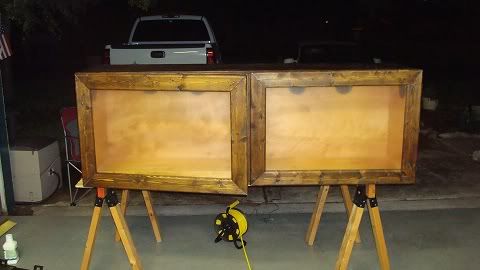
Add some stain and a barrier to keep aspen from falling out all over when opening the viv.

DSC01457.jpg


More staining pics using polyurethane wood sealer for the inside. The inside looks better than the stain on the outside in my opinion. We put the wrong side of the wood facing out, evidently. It didn't stain so well.

DSC01462.jpg


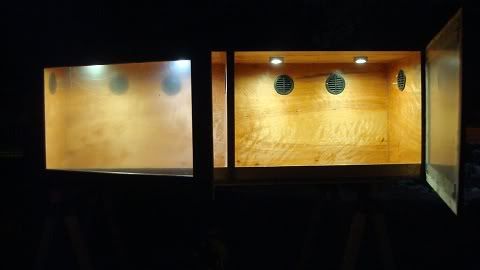
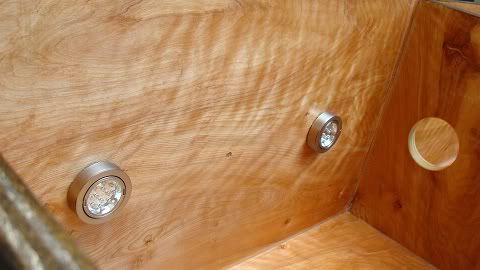
Adding the LED(no heat) show lights in the roof with cords coming out the top so no wire is exposed to snakes. Two lights in each cubicle.

DSC01460.jpg


Placement of outside vents. I used 4" PVC vents with the ends cut off. I got that idea from someone else on here. Since I still have babies though that could possibly fit through the vents, I hot glued regular window screen to the inside of each vent.

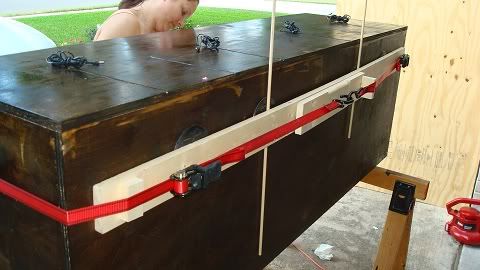
This is my ghetto clamping system to allow the glue to set!

DSC01465.jpg


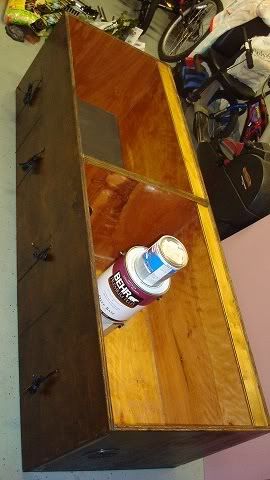
Placement of the inside vents with paint cans sitting on top as my second ghetto clamping system.

DSC01468.jpg
 
Now on to the doors. Holy crap these were difficult and one of the doors is slightly off when on the hinges by about a quarter of an inch. But it still seals well so I'm okay.

The miter box used to cut the picture frame wood. I used a router to round off the edges for fanciness.

DSC01449.jpg


Placement of the acrylic.

DSC01464.jpg


I used L brackets to hold the corners together through the acrylic. Had to be really careful with the pre drilled holes as the acrylic cracks if you force it too much.

DSC01463.jpg


I actually added another set of brackets on each corner which made it much more stable.

Doors added.

DSC01472.jpg


Lights on!

DSC01474.jpg
 
I still need to do the latching mechanism and the heating.

I plan on using a drawer type lock with a key. For the heating I'm going to use zoo med heat cable with a ceramic tile on top of it. Attached to a rheostat of course!

I also plan on using the styrofoam/concrete fake rock/wall eventually like another poster does with his fake rocks. But that is down the road a bit.
 
I can't forget to thank my wife, Jodi, who was a huge help(she figured out the best way to cut the extra off the PVC vents) and had tons of great ideas.

She also kept me sane when I was getting frustrated with the doors and wanted to break things.

But most importantly, she provided me with the beer necessary to get this nearly done in a single weekend.
 
what are the dimensions on it? and what are you keeping in it? it looks tall. I love it though. Im just gomma tell u from experience the heat cable by zoo med doesnt get hot at all. mine is plugged straight into the wall and stays on a constant temp of 90 degrees. i wouldn't even worry about putting the tile over it.
 
J0D,

Each cube is 36" L x 20" D x 24" H of interior space. I'm putting corns in it for now.

I made it tall(24") because I want to see how much time, if any, my corns will spend in the higher plants and ledges I plan on putting in there. I may end up dividing each cube vertically again to make four habitats that are 36" x 20" x 12" each to fit four corns in there instead of just two.

I built it pretty much just for show as it's not efficient space wise or anything. If I end up with more than 2-4 snakes, I'll probably implement a rack system similar to what other folks have done on here.

90% of my motivation for building it was just because I wanted to see if I could actually build something halfway decent and not have it fall apart!
 
Also, the acrylic is actually very clear. I've just left the protective film on it until I'm completely done building and ready to put the snakes in it.
 
It's amazing! I LOVE the wood inside. I think it looks much better than white. I even like the outside stain because it looks kind of old and weathered, and I like that kind of thing.

It's going to be a GREAT home! I can't wait to see what you do with the interior.
 
resurrecting a dead-thread, but where did you get your black vents... and do you have a part number or item name?

All i can find are little metal ones and the people at lowes look at me like i'm crazy when i'm describing what I want. I haven't tried home depot yet.
 
I got them at Home Depot. They have both black and green. They were in the plumbing section by the drains and piping. Sorry I don't have the part number but they are are 4.5 inches in diameter and the pipe part extends about 2 or 3 inches which I had to cut off with a dremel.
 
Back
Top